Quick start
This walks through the order from installing to your first Behaviour running in a world.
Requirements
Section titled “Requirements”You need a Unity 2022.3 project with the VRChat Worlds SDK (Udon) installed. In a project without the SDK, the runtime APIs can’t be resolved, so nothing works.
1. Installing the package
Section titled “1. Installing the package”| Step | What to do |
|---|---|
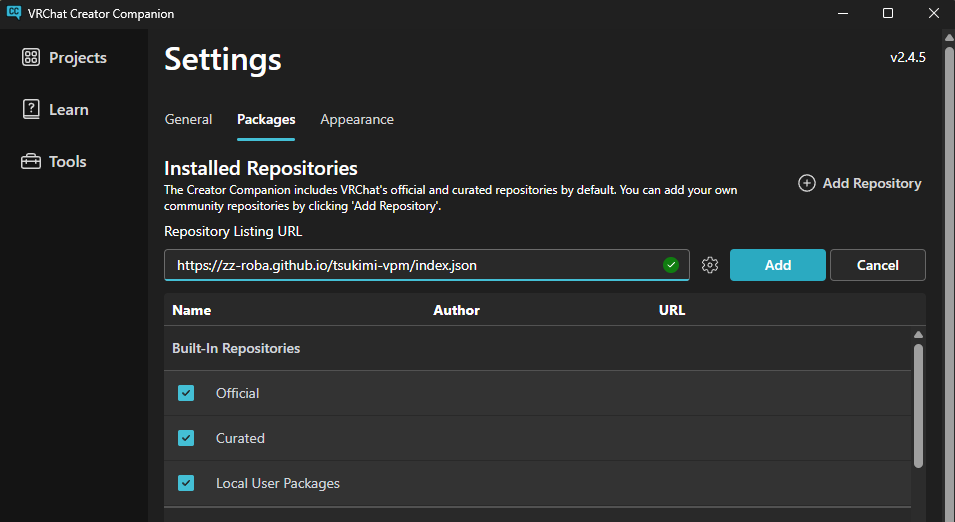
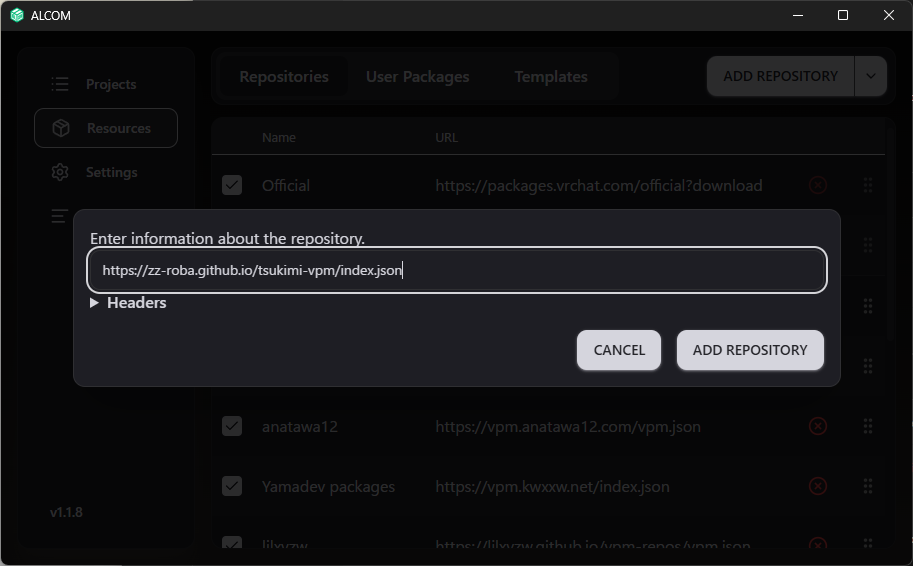
| 1 | Add https://zz-roba.github.io/tsukimi-vpm/index.json as a VPM listing |
| 2 | Pick TsukimiSharp(T#) from the package list and install it |
VCC and ALCOM follow the same steps.
Installing from the distributed file
Section titled “Installing from the distributed file”The distributed file is wrapped in a zip. Extract it, and add the .tgz that comes out through Add package from tarball in Unity’s Package Manager (Window > Package Manager). This button is in Unity’s Package Manager; VCC and ALCOM don’t have it.
Installing brings in the MCP server used from AI clients and the instructions for the AI to read, alongside the compiler and the editor extension. The steps on this page involve no configuration. Only when you use the MCP server does the separate setup on MCP server apply.
2. Your first script
Section titled “2. Your first script”Right-click in the Project view and pick T# Script under Create.
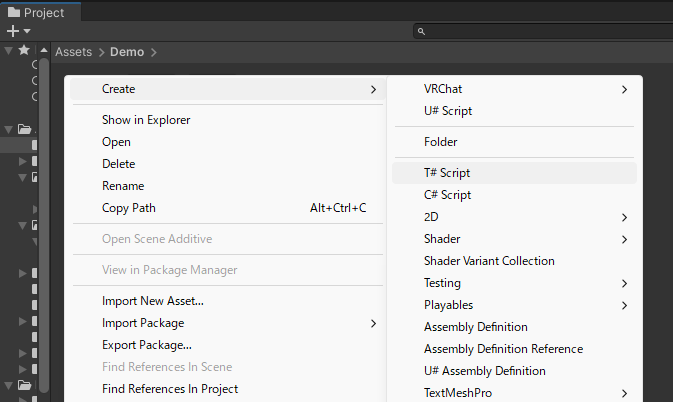
A window opens for naming it. Once you decide the name, one empty behaviour and its matching program asset are created at the same time. The two are treated as a pair, so don’t delete or rename just one of them.
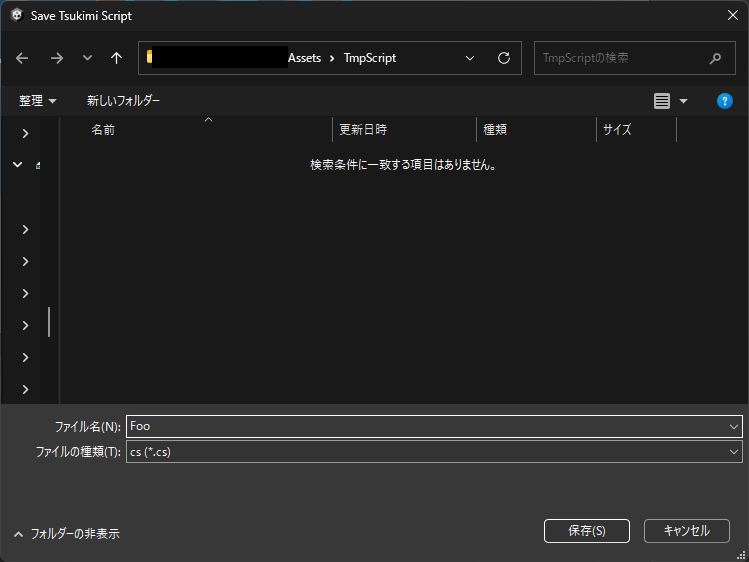
The save location is a folder inside Assets (saving directly under Assets is cancelled, because the dedicated assembly definition can’t be placed there).
Files created alongside it
Section titled “Files created alongside it”When there is no assembly definition anywhere above that folder, an assembly definition and IsExternalInit.cs are created in the same folder. Both are needed to use the newer syntax. In a folder that already has .cs files, you are asked whether it may be split.
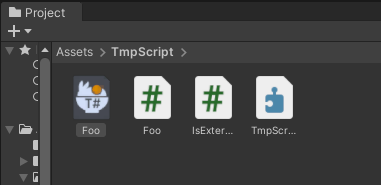
The file you get reads as plain C#. It holds one class that inherits Tsukimi.TsukimiBehaviour, and that’s where you write the events the runtime calls.
3. Saving and compiling
Section titled “3. Saving and compiling”Saving runs the compile at that point. If it passes, the result appears on the program asset. The instruction count, the number of externs, and the generated Udon assembly can all be read in the same place.
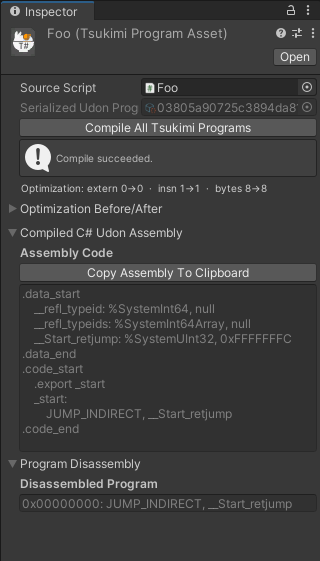
The run is also reported in the Console.

How errors appear
Section titled “How errors appear”When you have written something that doesn’t compile, a Japanese error with a position appears. To look a number up, see Error.
4. Placing it in a scene
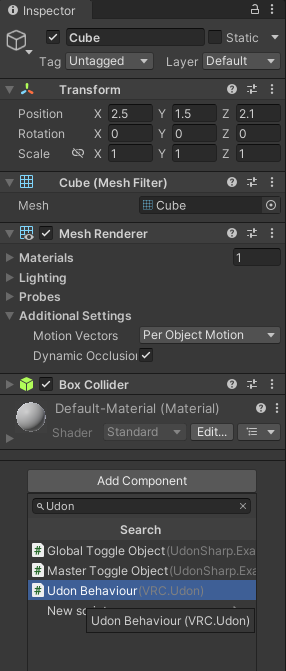
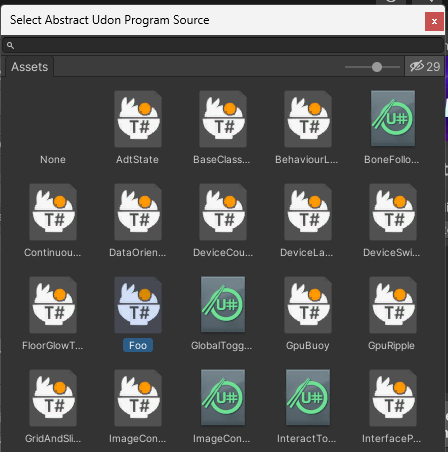
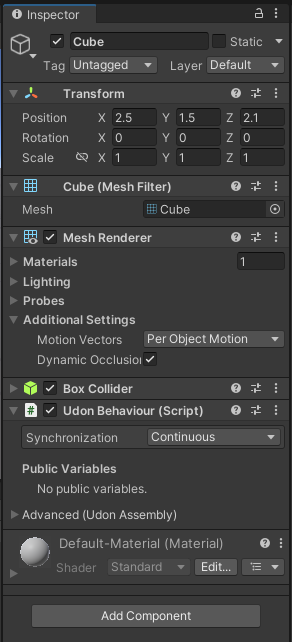
Section titled “4. Placing it in a scene”Drag the script you created onto a GameObject in the scene. A UdonBehaviour is attached, and the program asset is bound to it. The values visible in the Inspector come straight from the field declarations.
Alternatively, you can add one by choosing Udon Behaviour from Add Component and specifying the program asset.
5. Checking that it runs
Section titled “5. Checking that it runs”Press Play to check it inside Unity. You can also upload the world and check it there.
Files placed in the project
Section titled “Files placed in the project”Installing the package places one Assets/TsukimiCode/IsExternalInit.cs. It is the type C# requires in order to write record and init, and Unity doesn’t have it. It isn’t placed in a project that already has the same type (that would be a duplicate definition).
It is placed once, the first time. If you delete it, it is not created again.
How to restore it
Section titled “How to restore it”Deleting this file stops scripts that use record or init from compiling (定義済みの型 System.Runtime.CompilerServices.IsExternalInit が定義されていません). To put it back, place a .cs file with the following content inside Assets.
namespace System.Runtime.CompilerServices{ internal static class IsExternalInit { }}It can go anywhere under Assets, with two things to watch for.
- Don’t put it under
Assets/Plugins. That is a separate assembly, so it won’t apply. - If you create an assembly definition (
.asmdef) and put your scripts inside it, that assembly needs the same type too. The type is needed per assembly. When an assembly definition was created along with your T# Script, it is already in the same folder and nothing needs doing.
Bundled samples
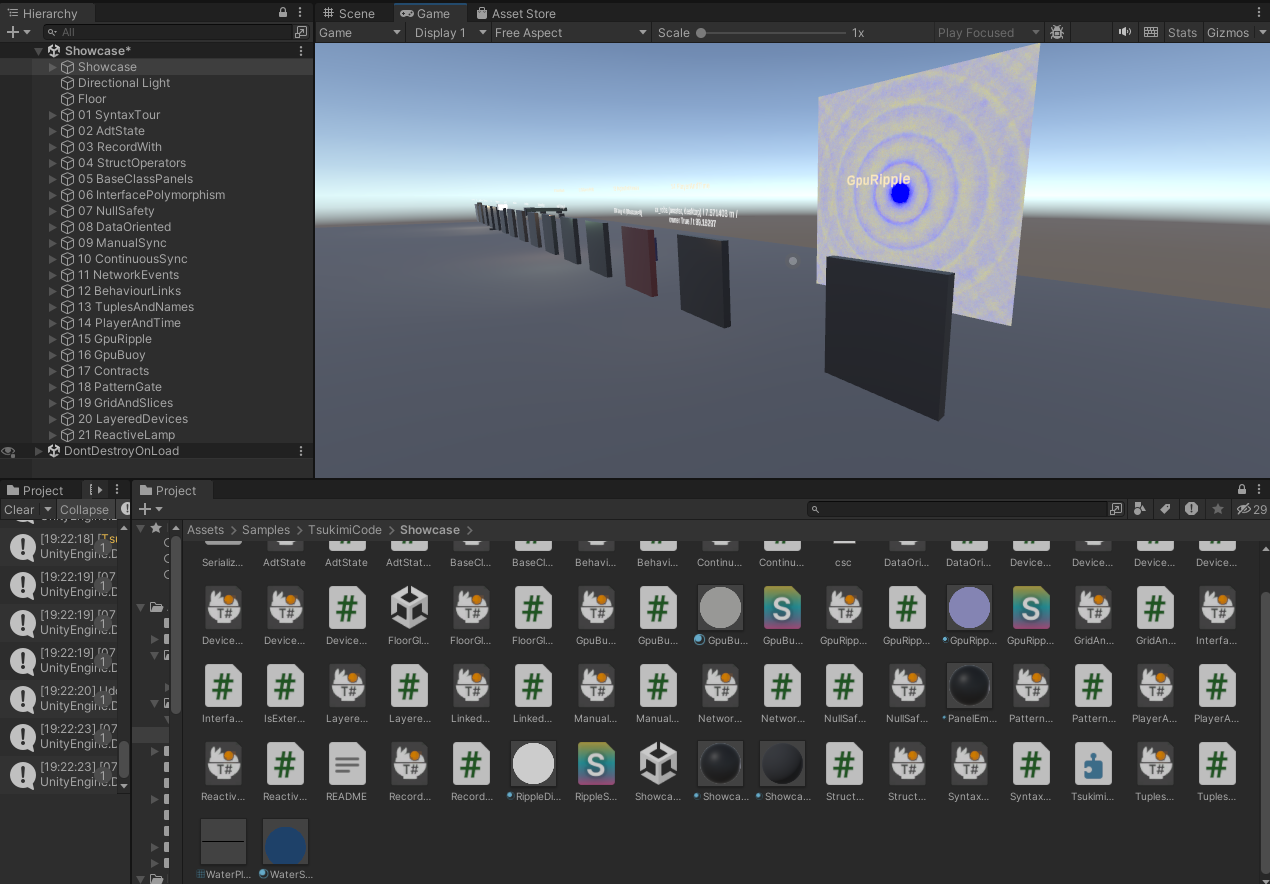
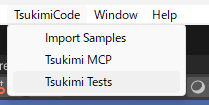
Section titled “Bundled samples”Press Import Samples under the TsukimiCode menu and they are imported into Assets. One sample is imported, containing two scenes. Open one and press Play.
| Scene | Contents |
|---|---|
| Showcase | A row of them, each showing one way to write something |
| FloorGlow | The floor glows under the player’s feet. A single one lifted out on its own |